How To: Make Seed Envelopes
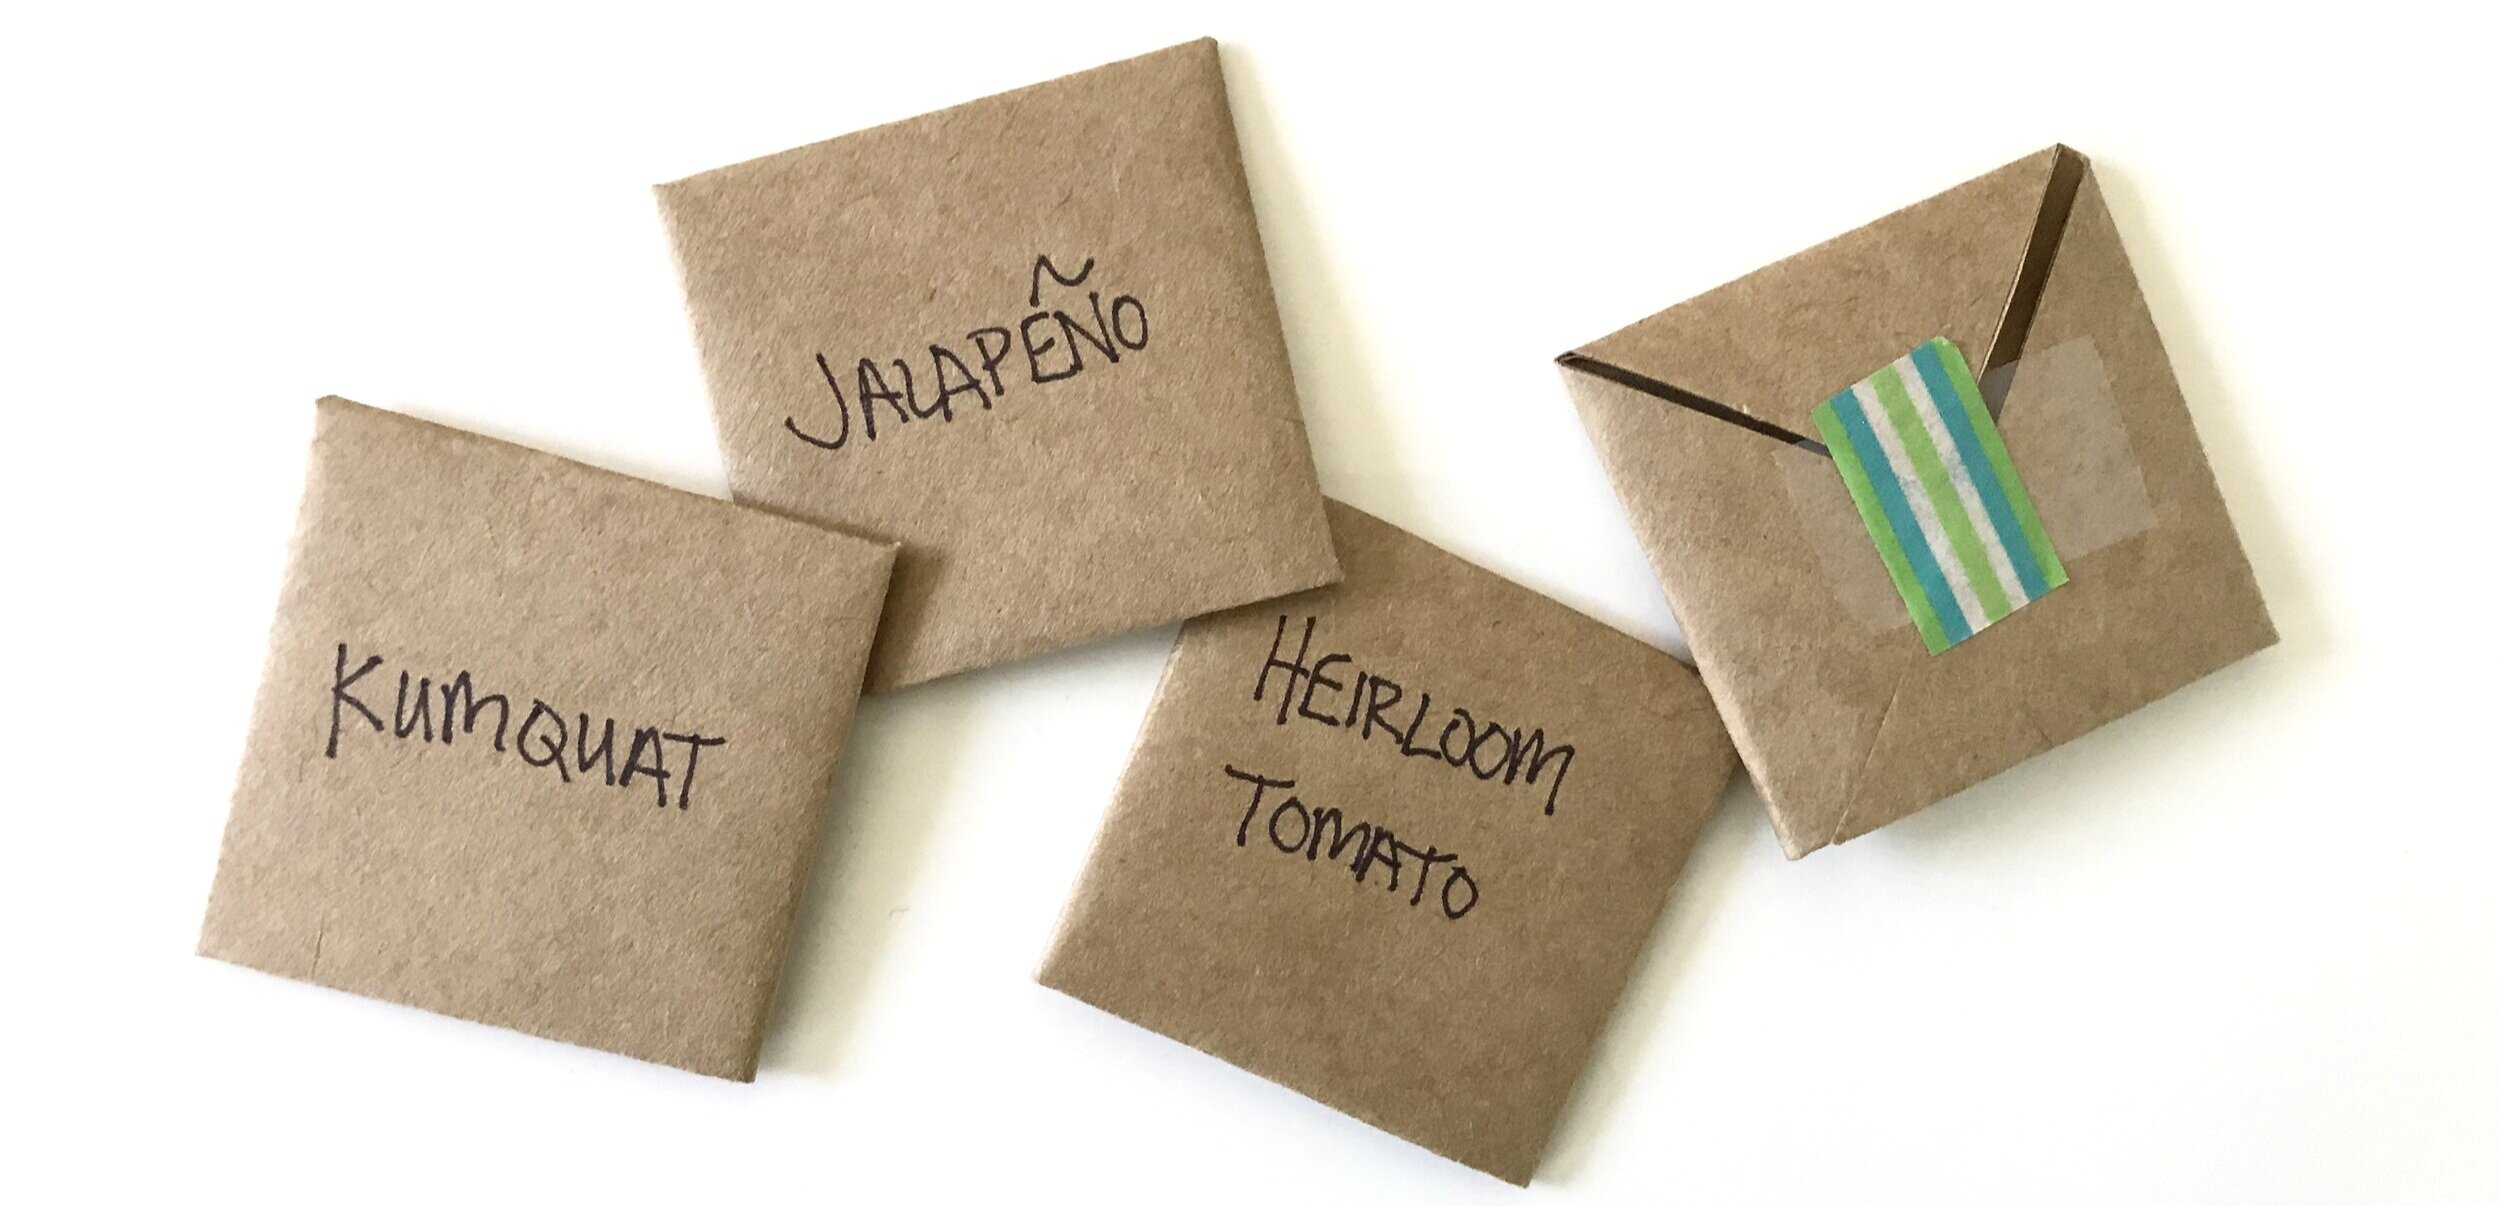
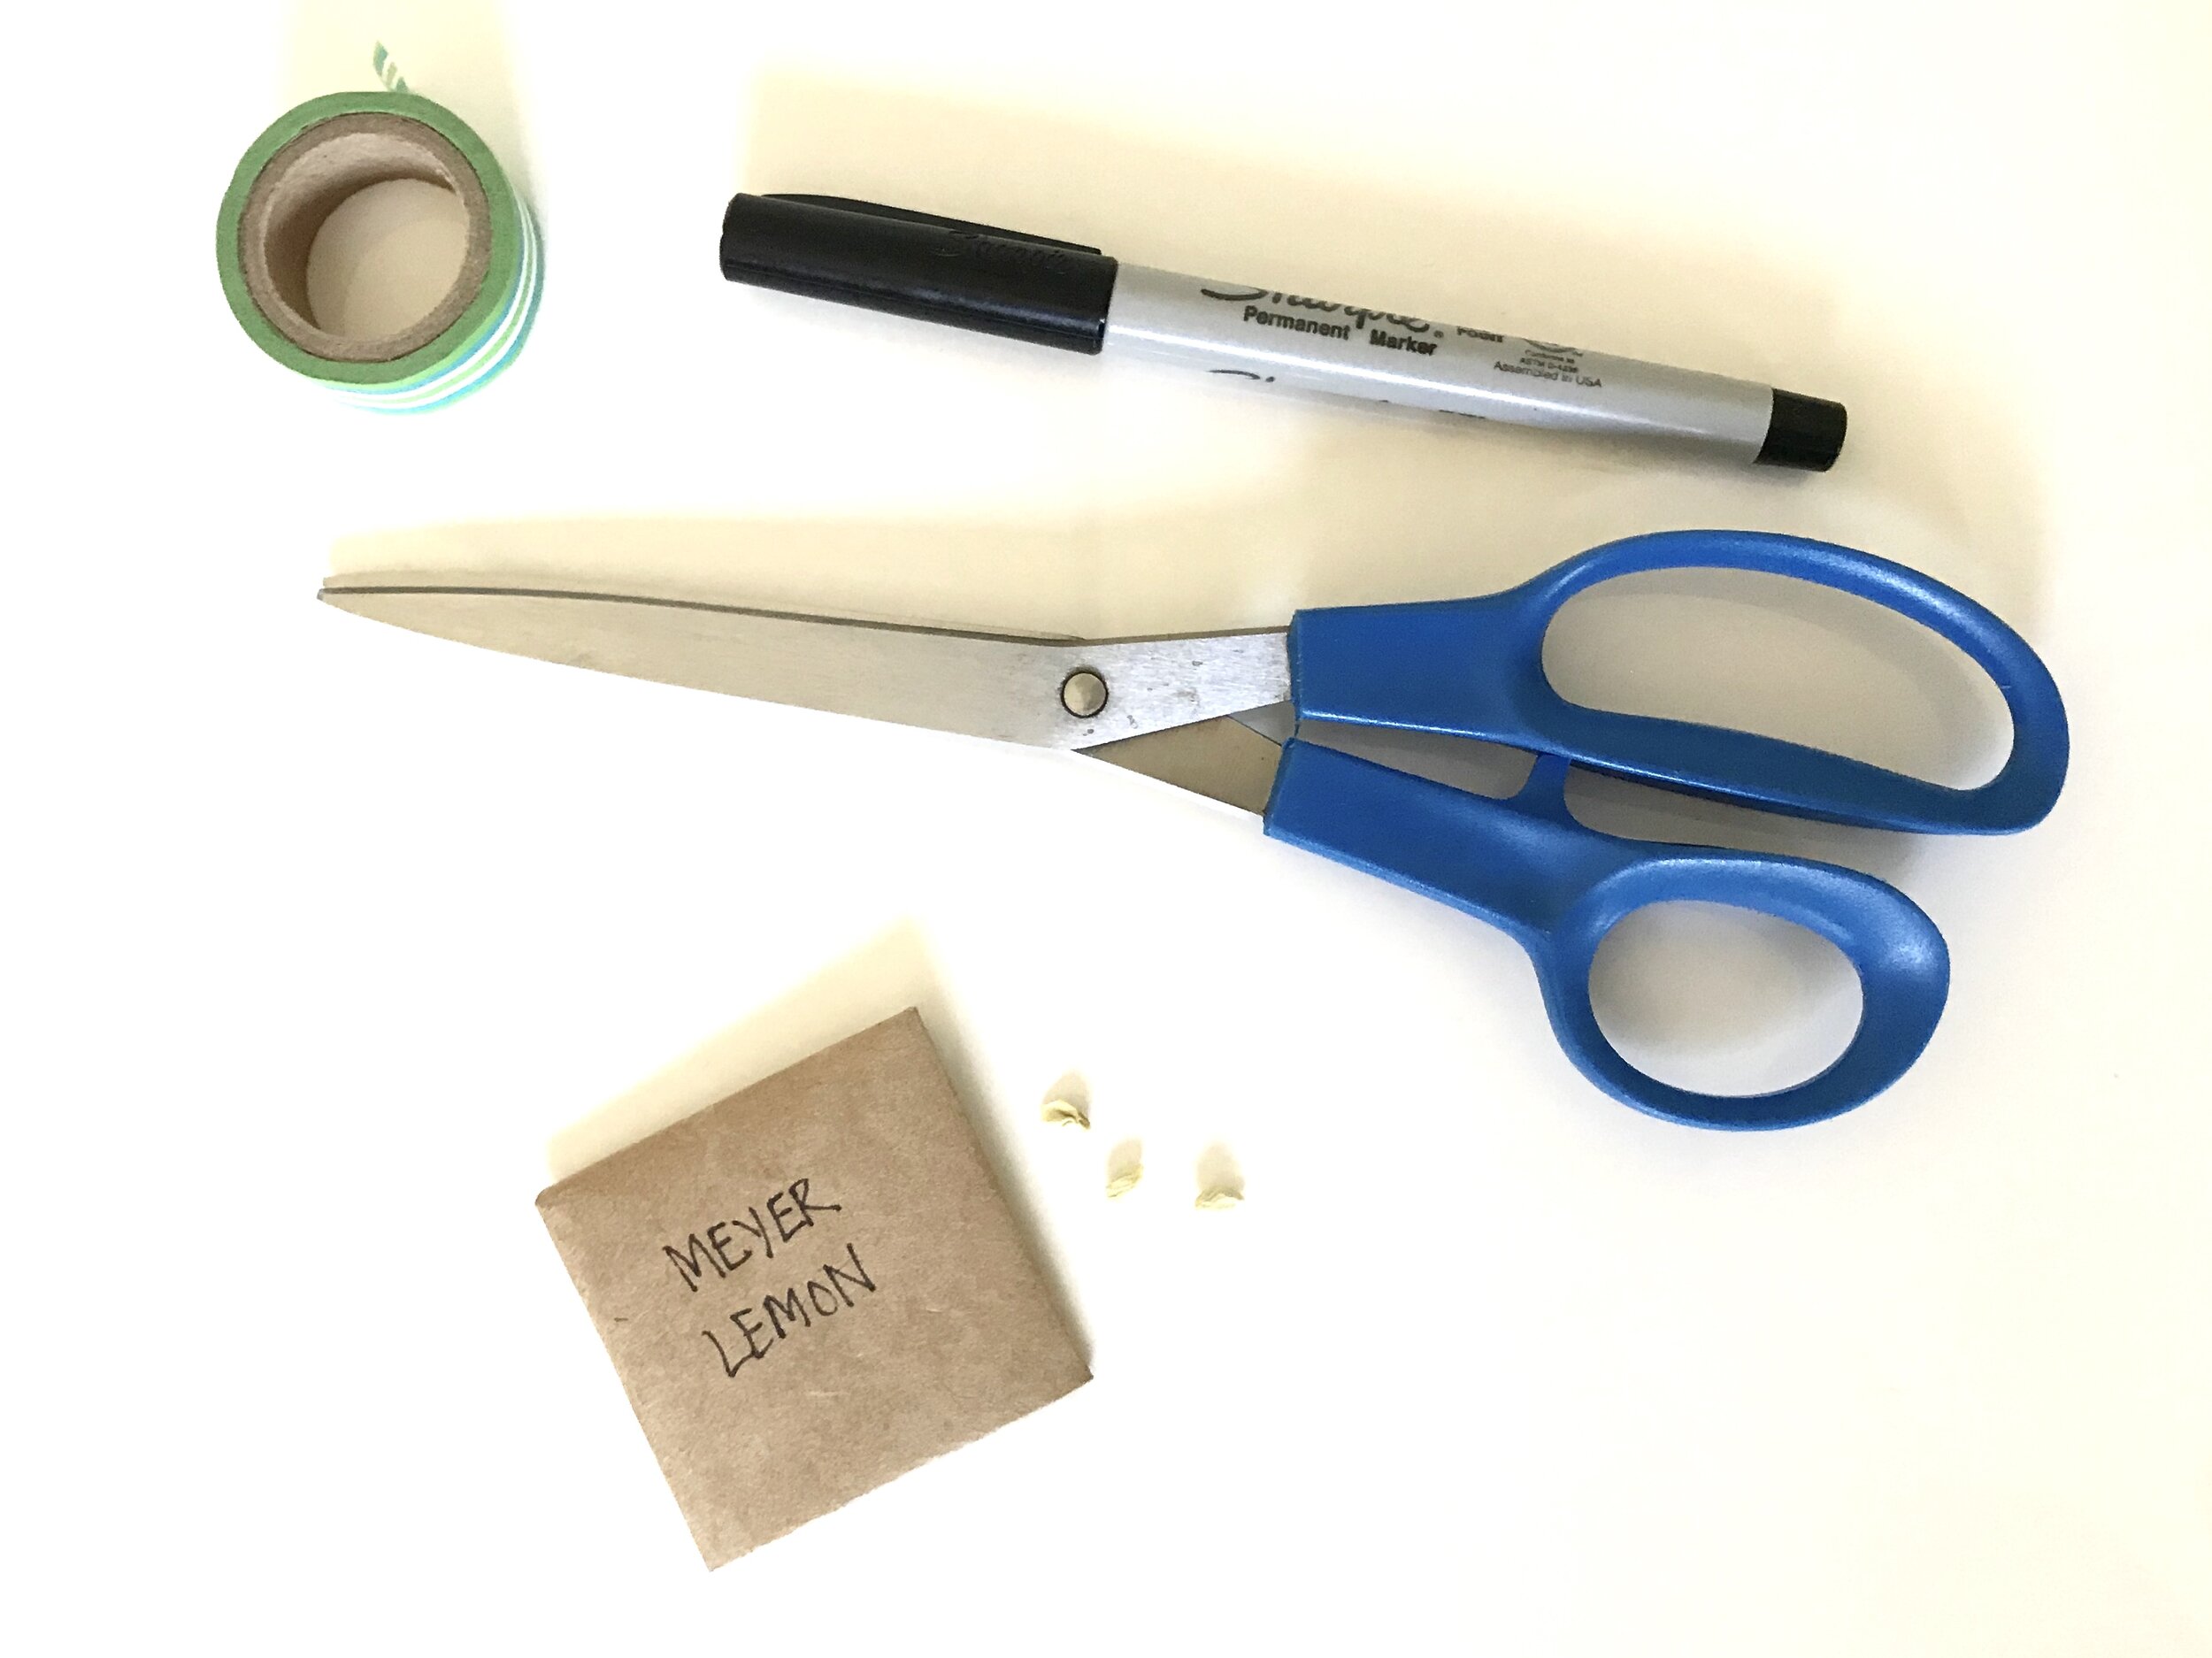
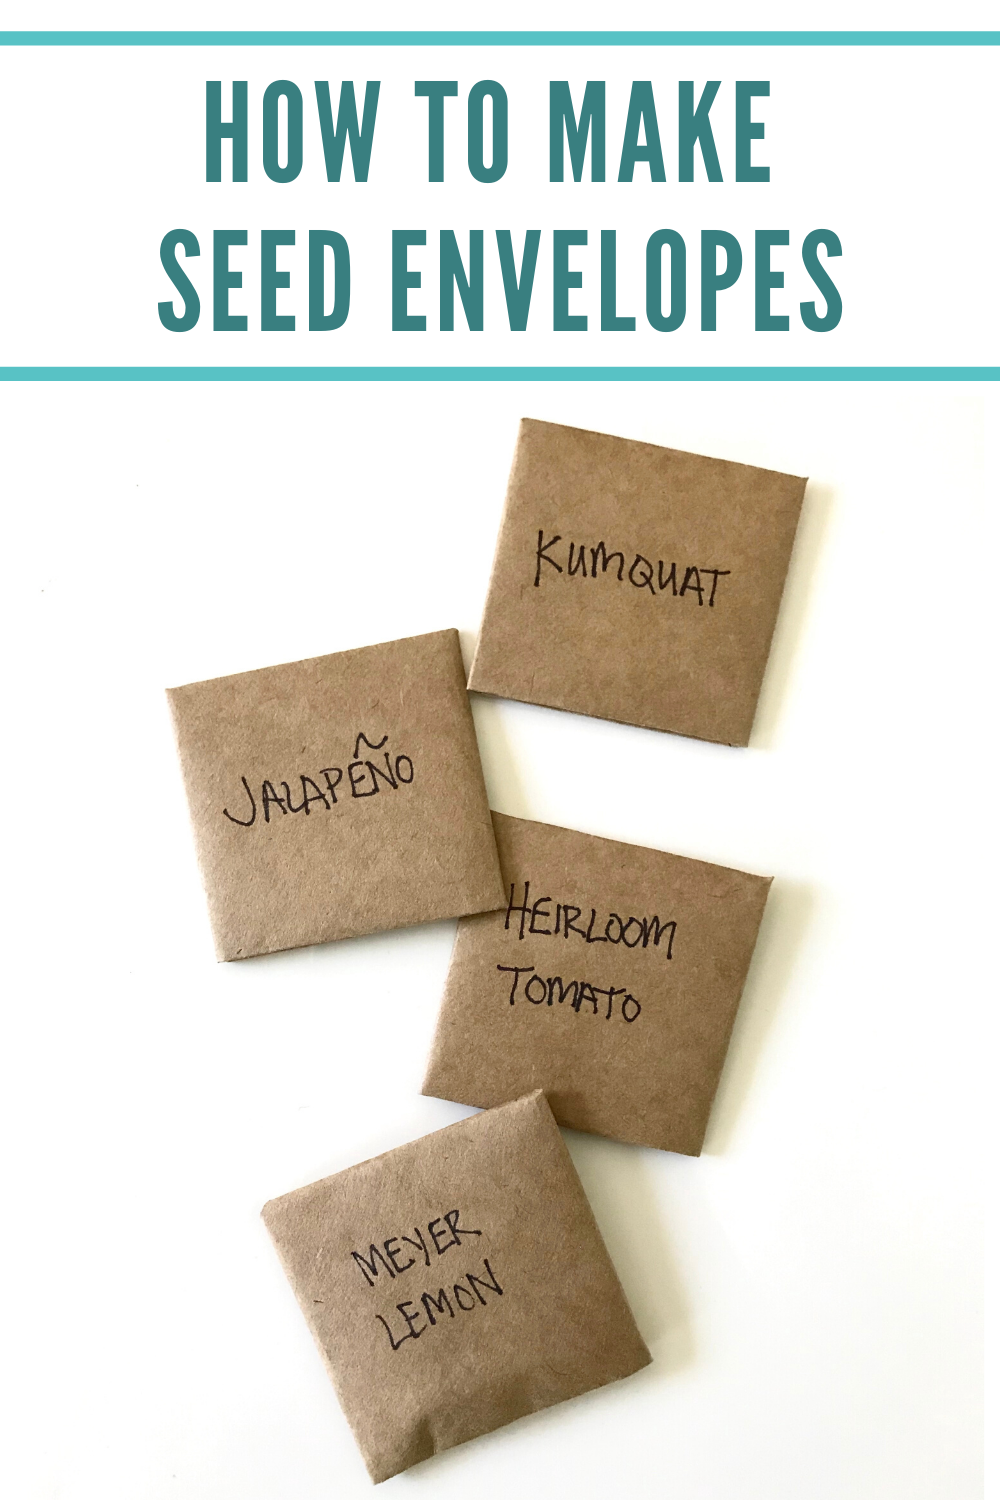
/We’re doing a lot of gardening these days, which means we are saving seeds and needed a way to separate and store them. After doing a little bit of research, I came up with this simple method to make some little seed envelopes. It’s fast and easy, and uses materials that you already have at home. They also make a sweet little gift for a friend or neighbor when filled with some of your favorite seeds.
TIPS:
You can get four envelopes out of a standard 8.5 x 11 piece of paper
The steps below will make a small square envelope that measures about 2” by 2”. If you want to make a larger envelope, you can follow the same basic steps starting from step #5, just use a larger square piece of paper.
I found that it’s better to use a lighter weight paper (like standard printer paper). You can use a brown kraft paper like I did here, or a cute patterned paper if you want to make them pretty. The flap of the envelope will not stay closed easily if using a heavier card stock.
STEPS:
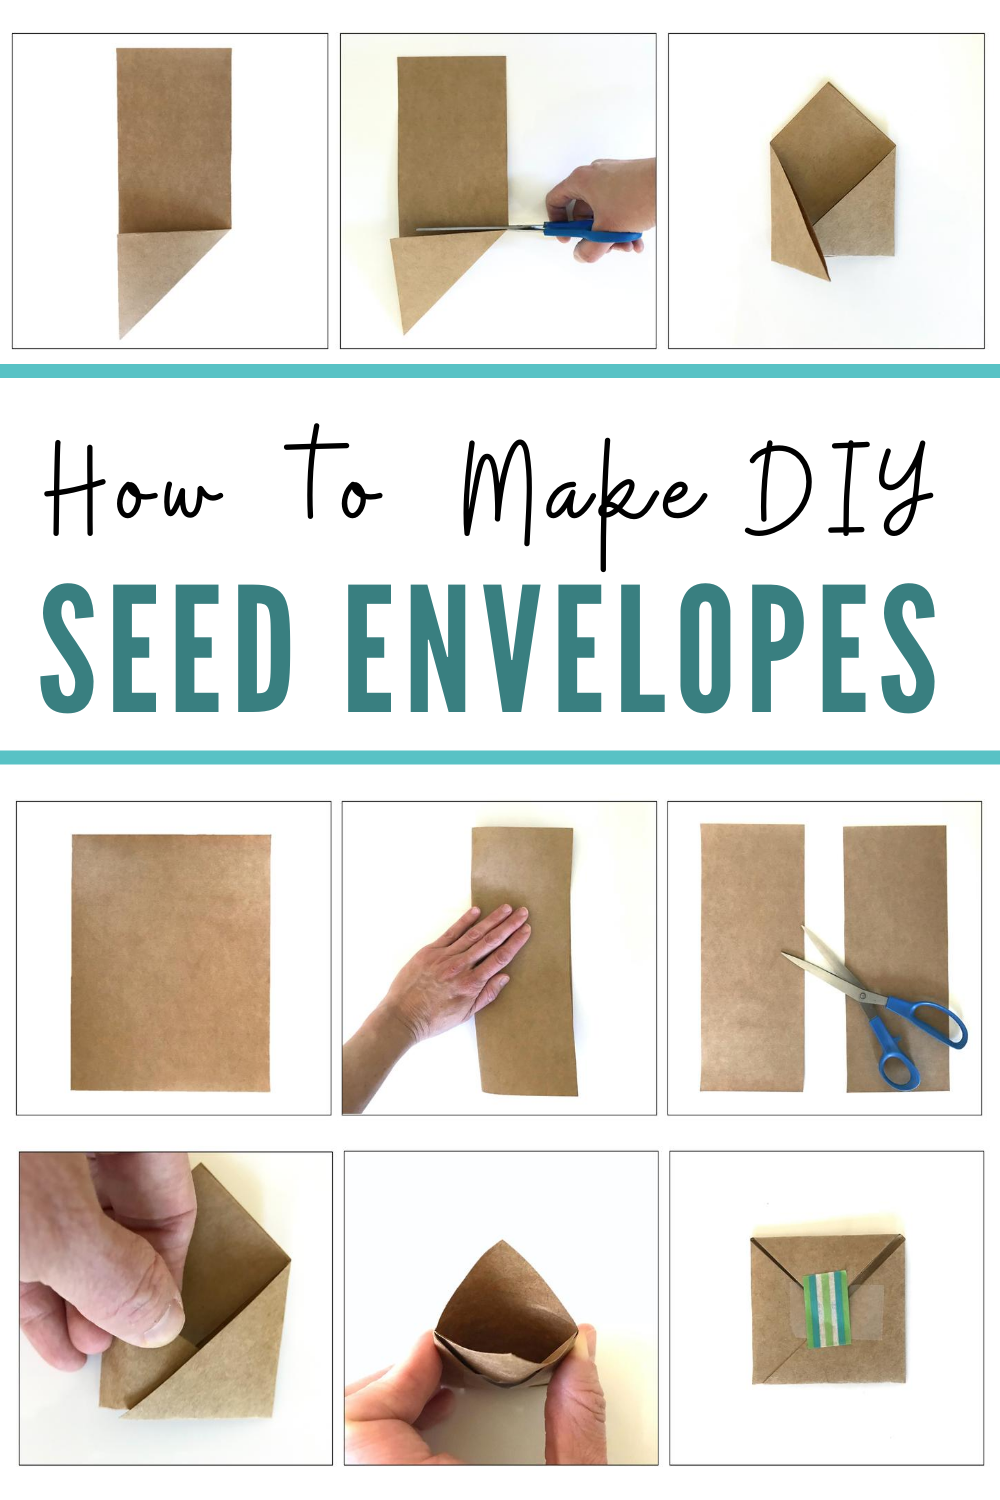
1. Take a standard 8.5” x 11” piece of paper and fold it in half lengthwise.
2. Cut the paper in half along the crease, producing two long rectangular pieces of paper.
3. Take the bottom corner of one of the pieces of paper and fold up diagonally to meet the side edge of the paper, creating a 45 degree angle crease.
4. Cut along the top where the edge of the paper created a line. This will leave you with a square piece of paper that is folded in half diagonally in the shape of a triangle.
5. With the two flaps of the triangle facing up, fold the triangle into thirds by folding both sides of the triangle inward.
6. Tuck one of the flaps into the pocket of the other. Secure in place with a piece of tape if desired.
7. Place dried seeds into the top of the envelope between the two top flaps. Fold over and secure with a piece of tape to close.
8. Repeat three more times with remaining paper.


