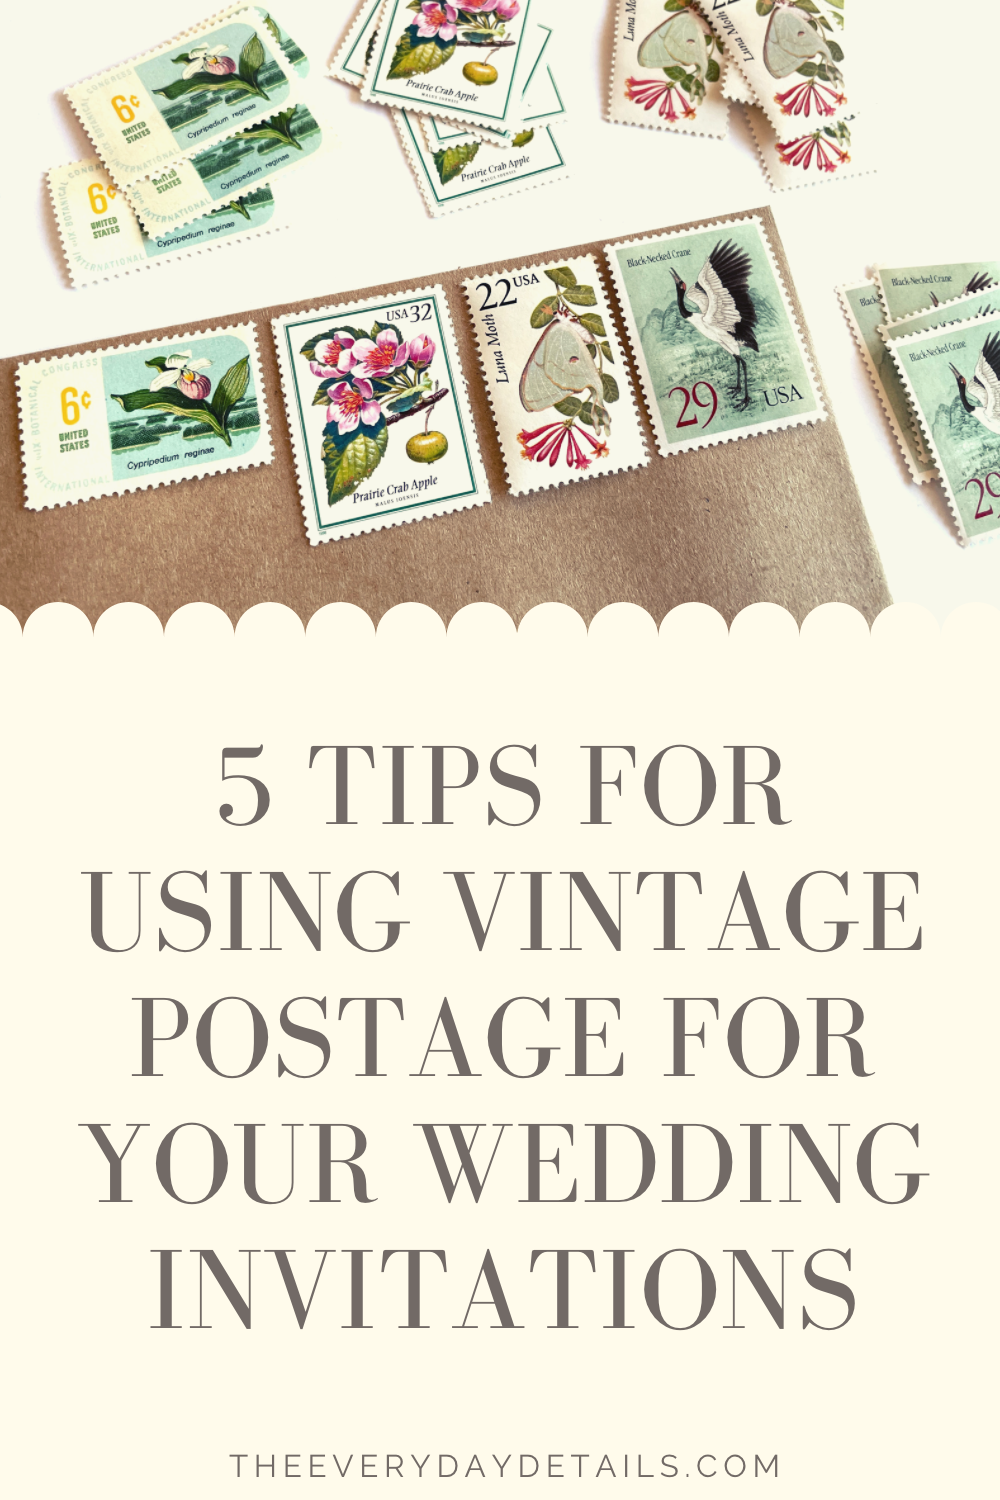
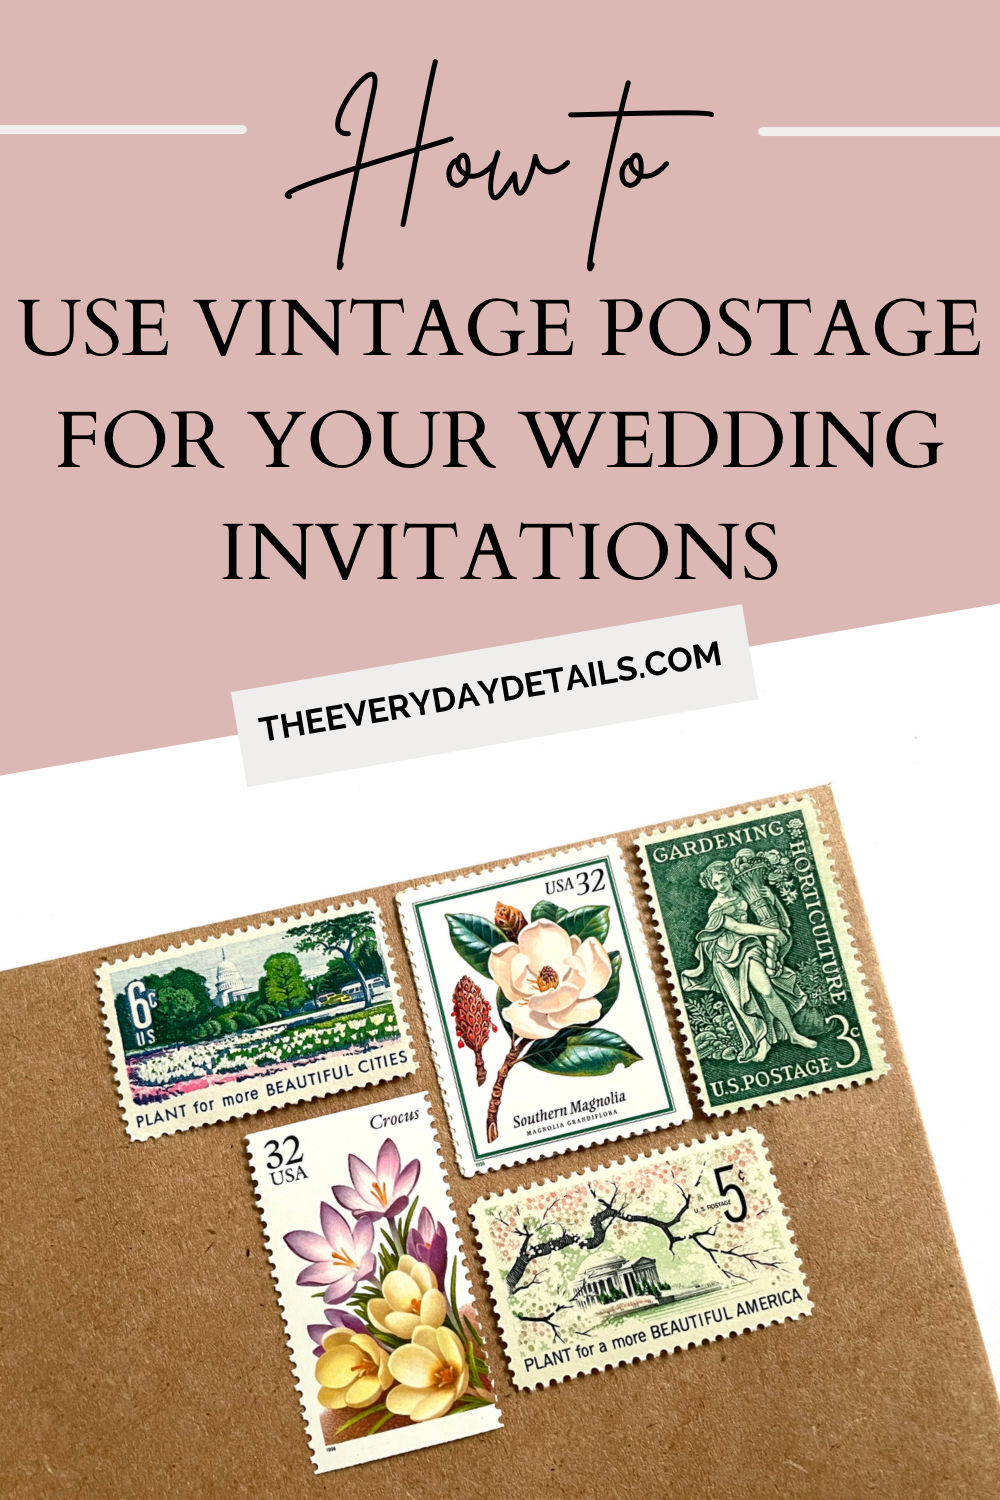
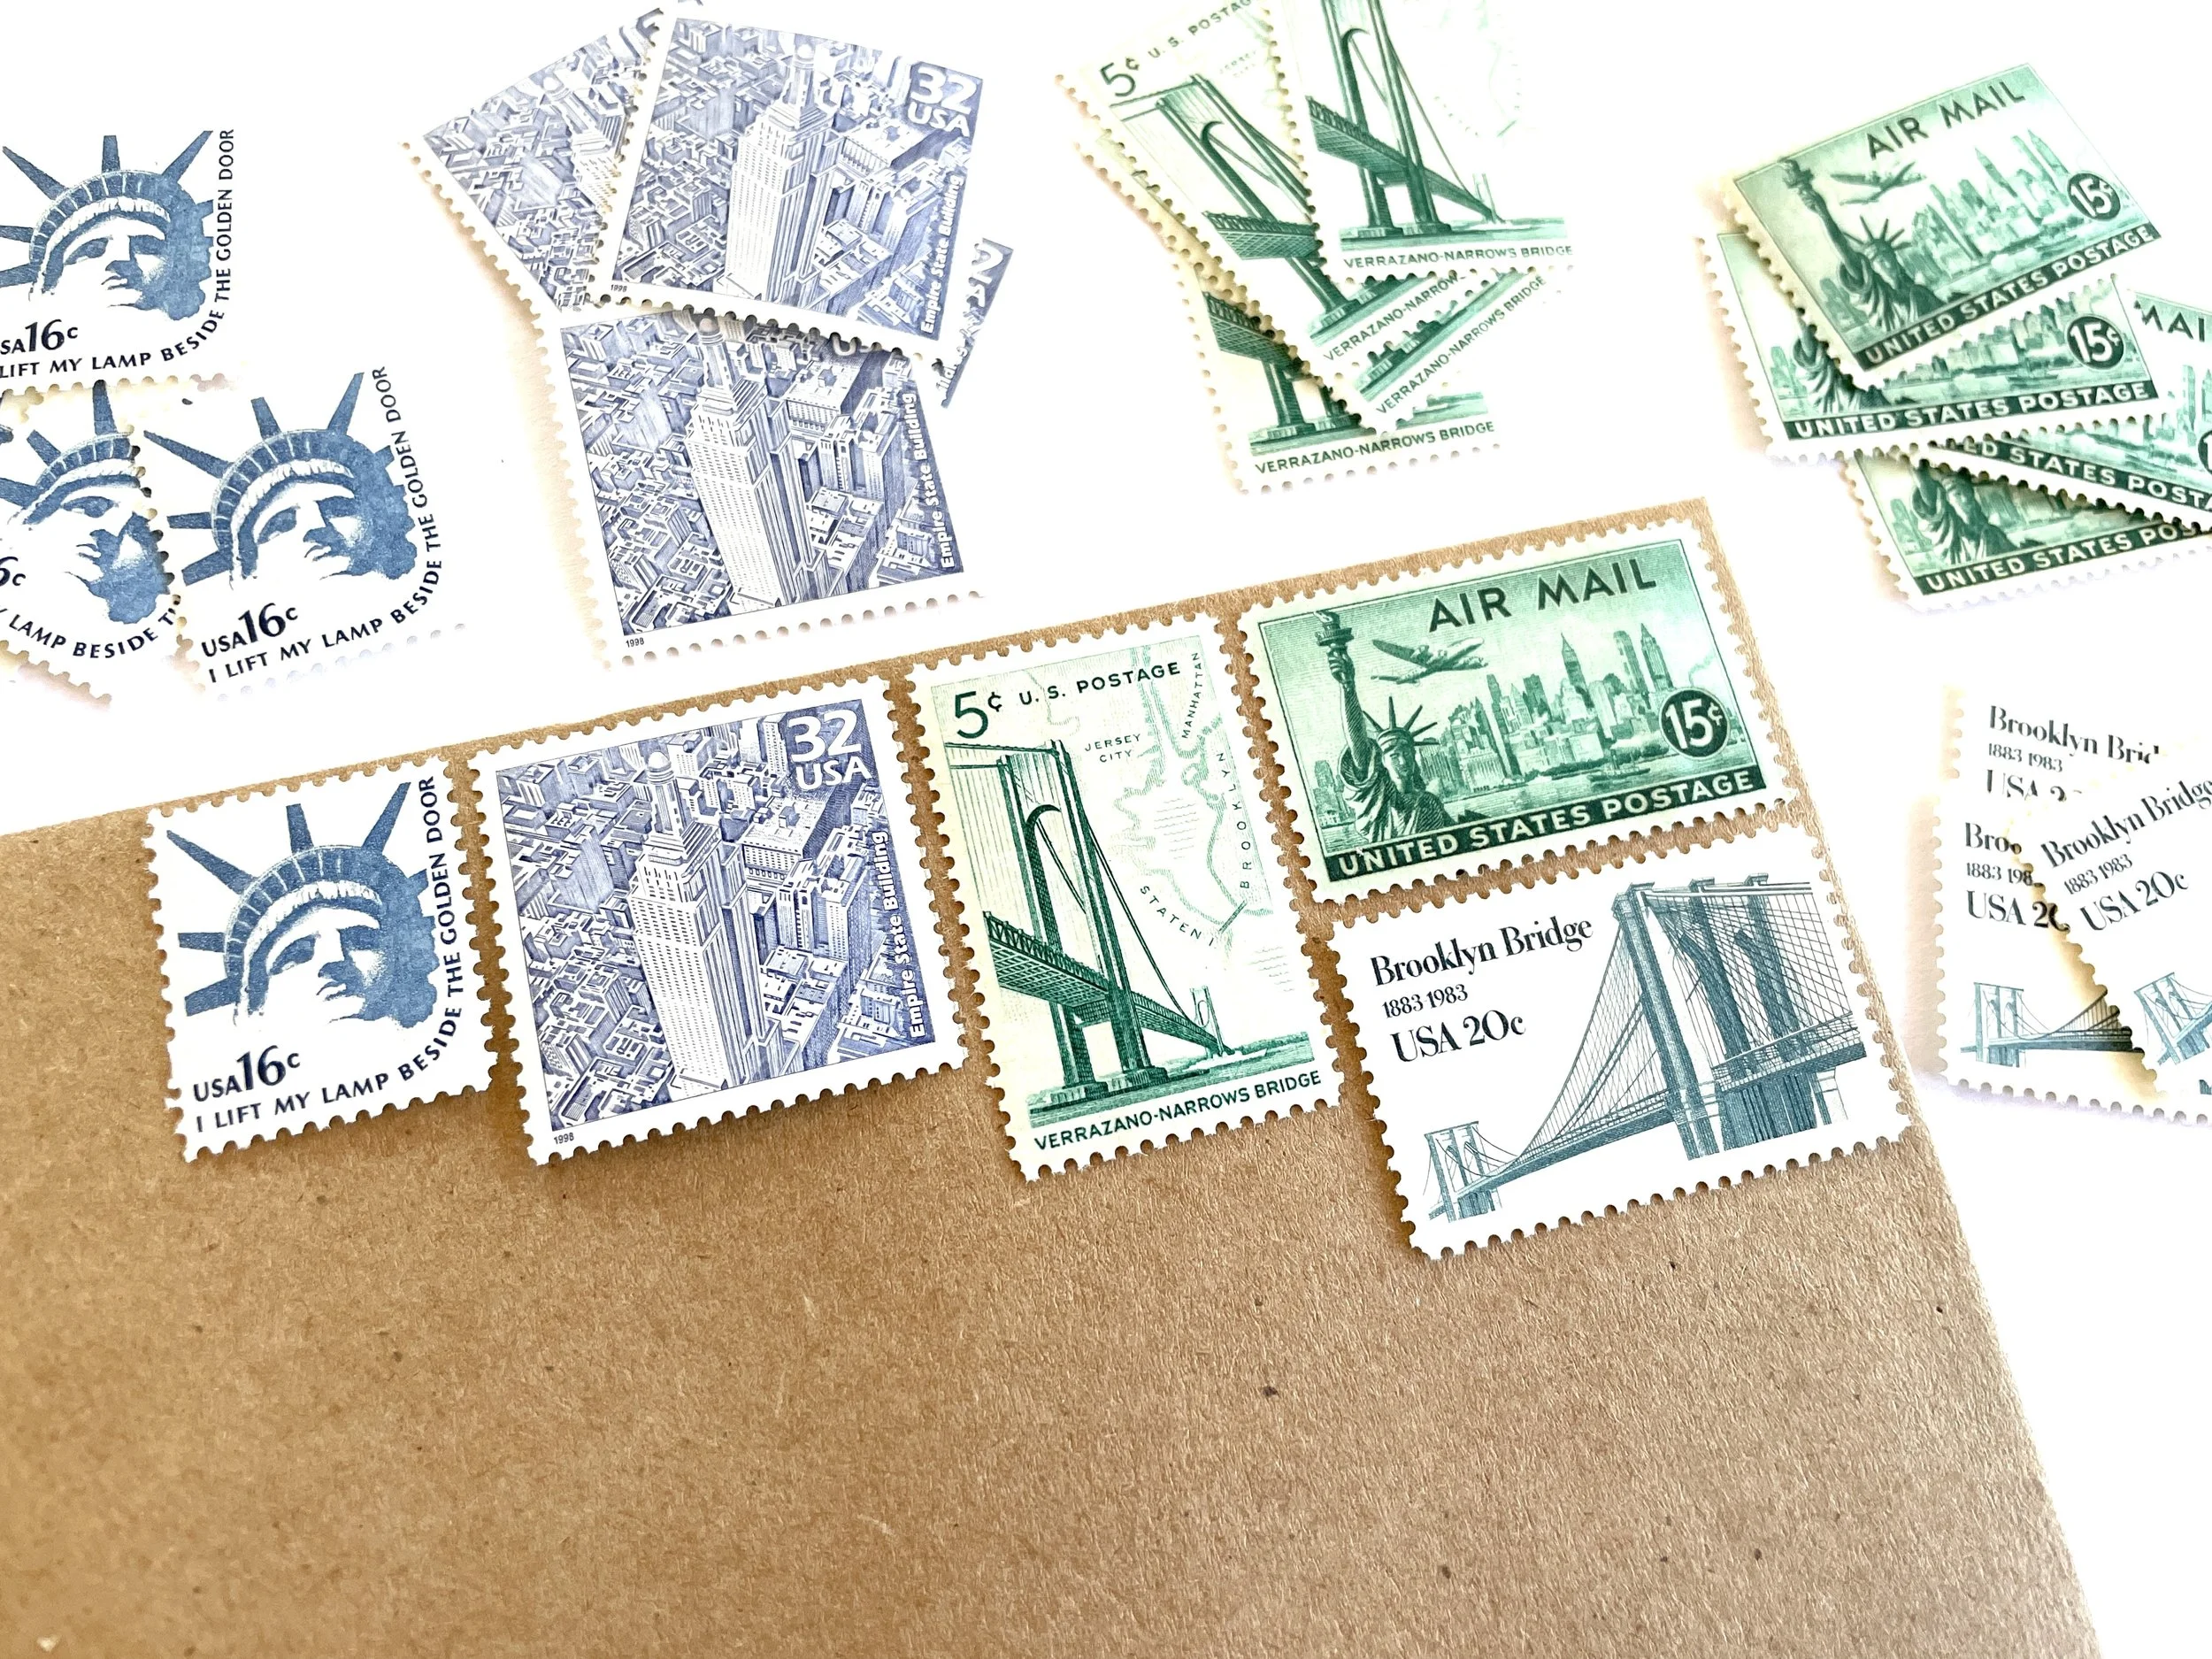
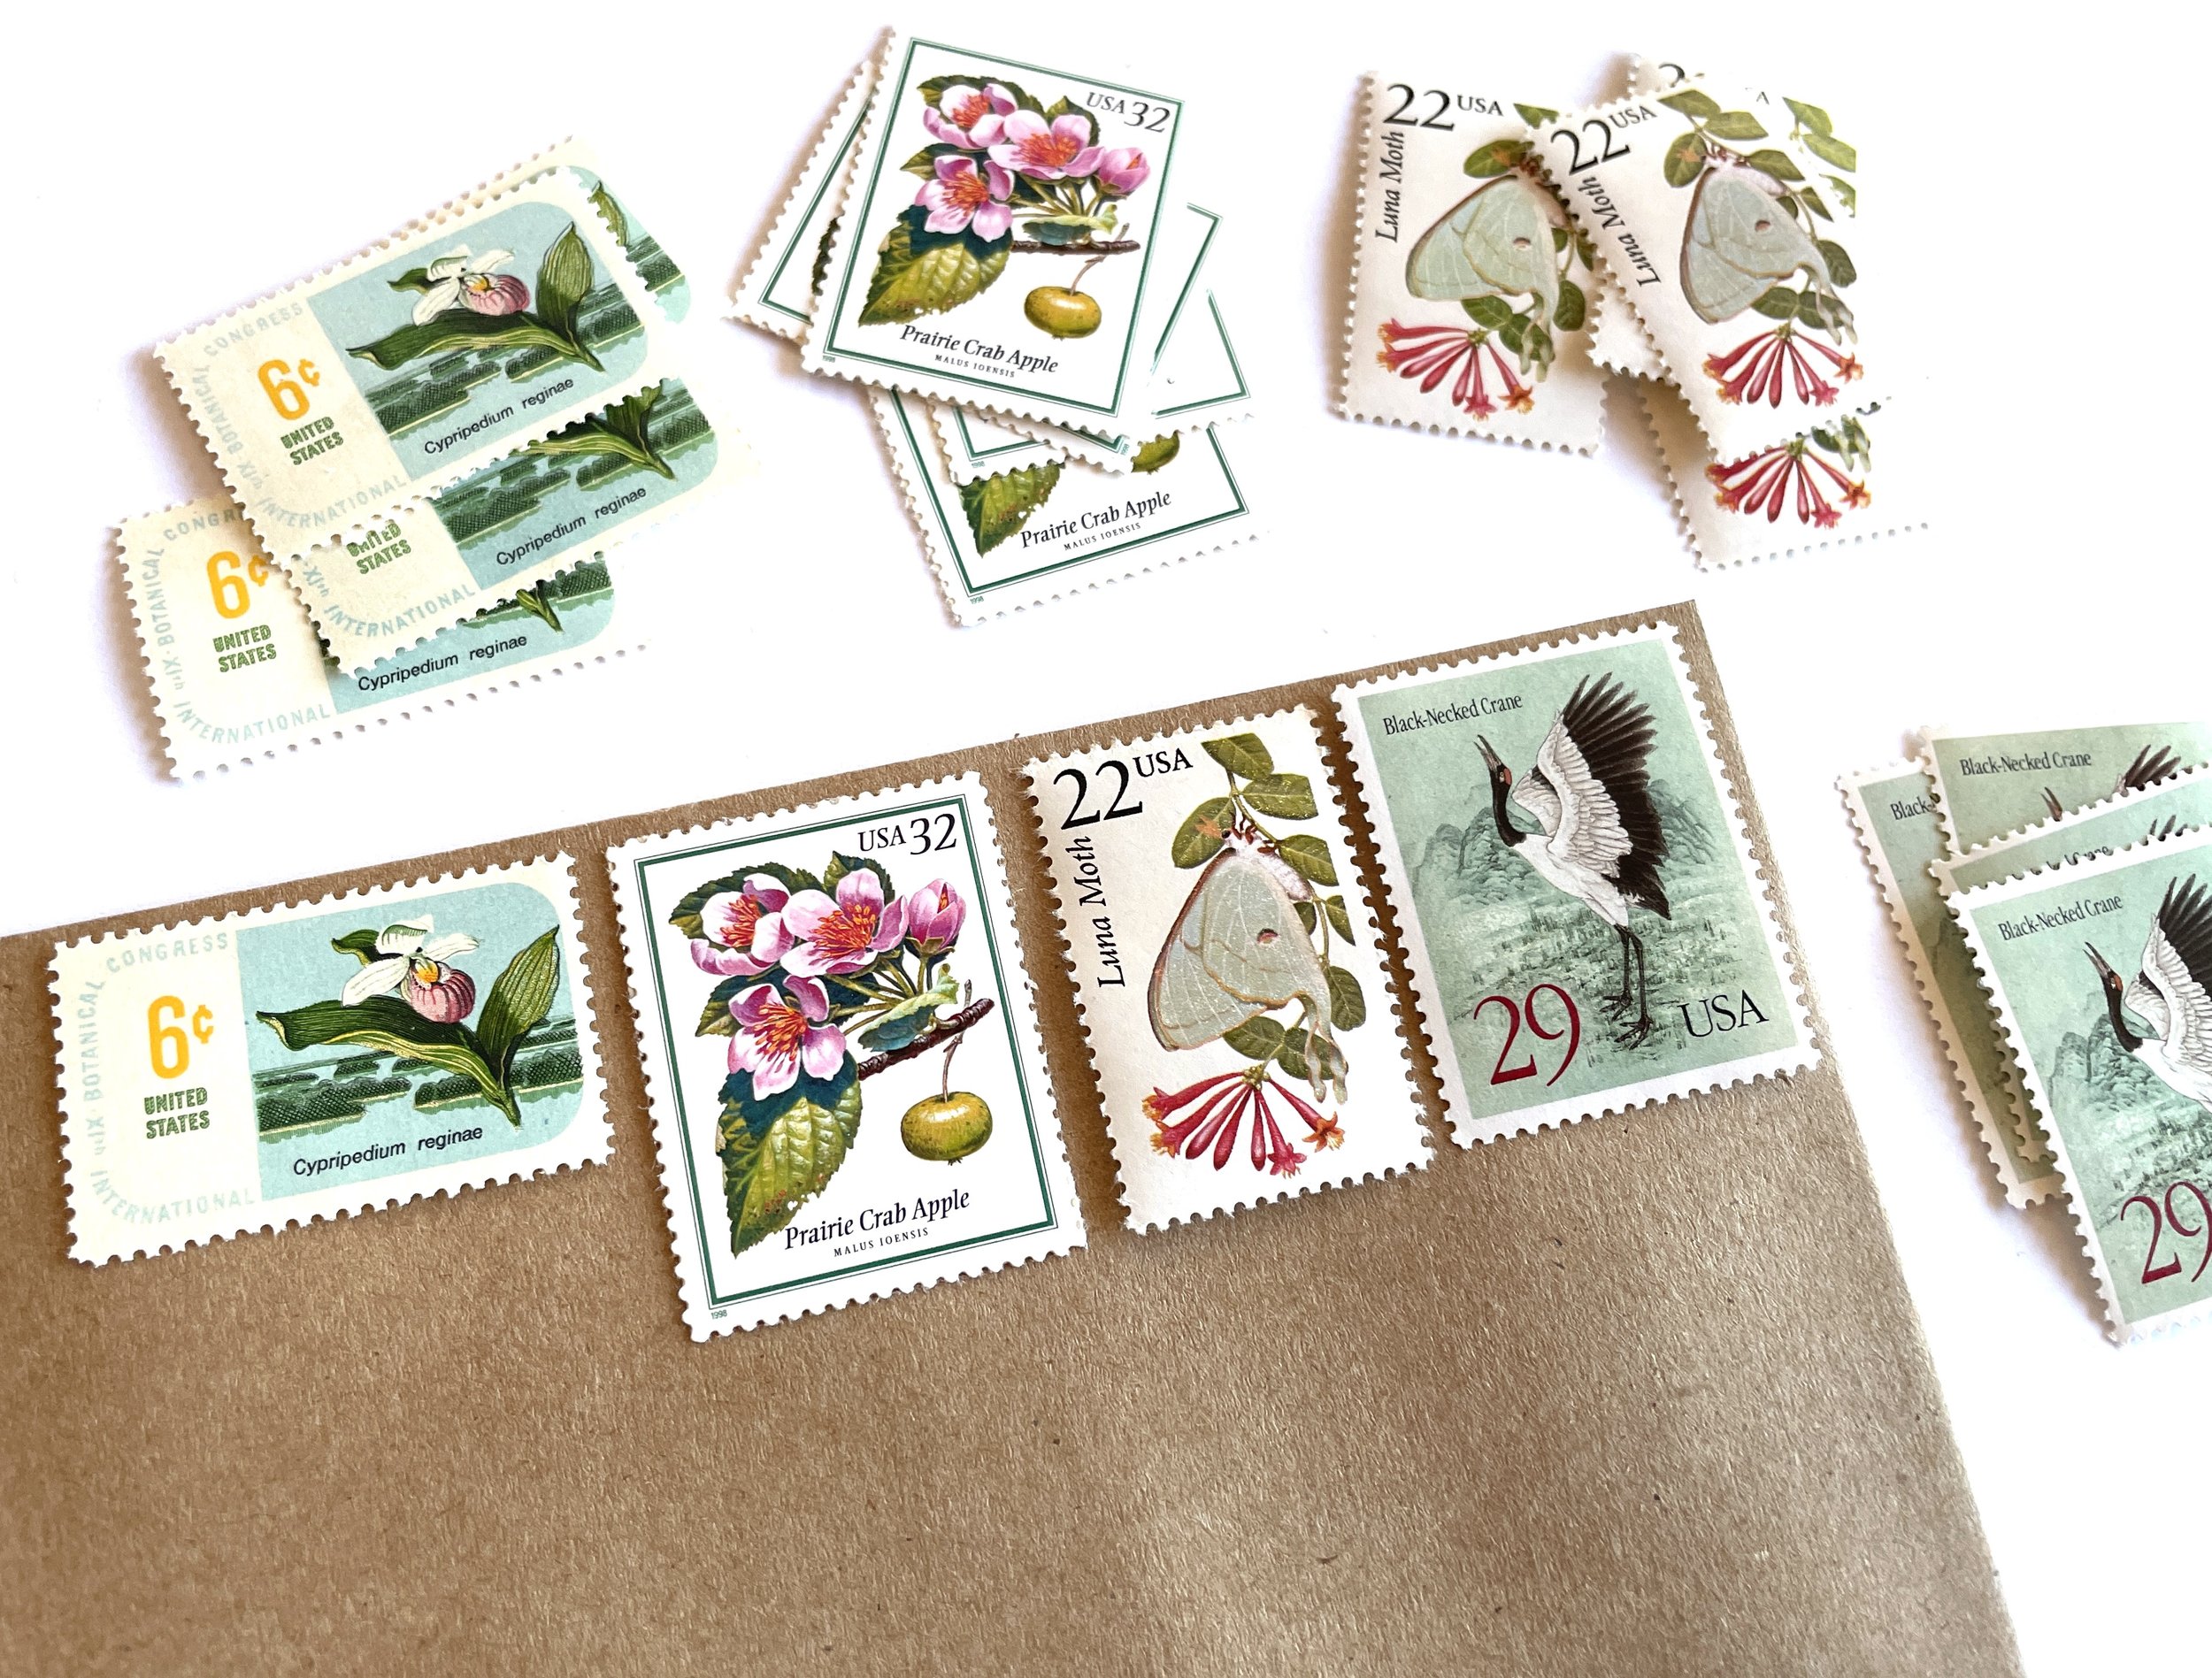
5 Tips for Using Vintage Postage Stamps for Your Wedding Invitations
/One of the most popular trends in wedding invitations right now is using vintage stamps for postage. Unused vintage stamps are perfectly suitable for postage and add a gorgeous and unique personal touch to your invitation. There’s no better way to set the tone for your wedding suite and make an extraordinary first impression! Here’s everything you need to know about going vintage for your invite postage.
1. Know Your Postage Amount
The first step you’ll need to take when using vintage postage for your invitation is to find out exactly how much postage you’ll need to send each invitation. If you’re using a wedding stationer, start by asking them. The most reliable way to find out is to take a sample of your complete invitation into a local post office and have them weigh and assess the invite to let you know how much postage you’ll need. Things like oversized envelopes, wax seals, and the weight all factor into the amount of postage that you’ll need. Remember, it’s fine to have more postage than necessary on your invitation, but not having enough will cause your invites to be returned to you. If you’re using reply cards that will be mailed in, don’t forget that you’ll need postage for those as well.

2. Understand the Cost
Vintage postage is rare, beautiful, and in super high demand these days, so expect to pay a premium. Four to six times the face value of the postage is about standard, depending on the specific stamps being used. If you really want to use vintage postage but don’t have a huge budget, consider mixing current forever stamps available from USPS with a few vintage stamps added for a personal touch. Another option for vintage postage if you can’t afford a custom set is to go to a stamp curator like Heritage Post House that offers “off the rack” predesigned sets of vintage postage for sale that may work. There are a number of options to choose from, just make sure to find a set that has sufficient postage for your invitation.
3. Give it Time
If you’re looking for a fully custom stamp set for your invitations, give the process at least 3-4 weeks by the time you begin to the time you have the stamps in hand. It also takes a lot more time to adhere vintage postage to your invitations, so if you’re doing that step yourself, allow extra time for that as well. You’ll be applying multiple stamps using a glue stick (I highly recommend THESE glue sticks as they allow you a little wiggle room in case you don’t get the stamp in the exact spot you wanted right when you put it down on the envelope).
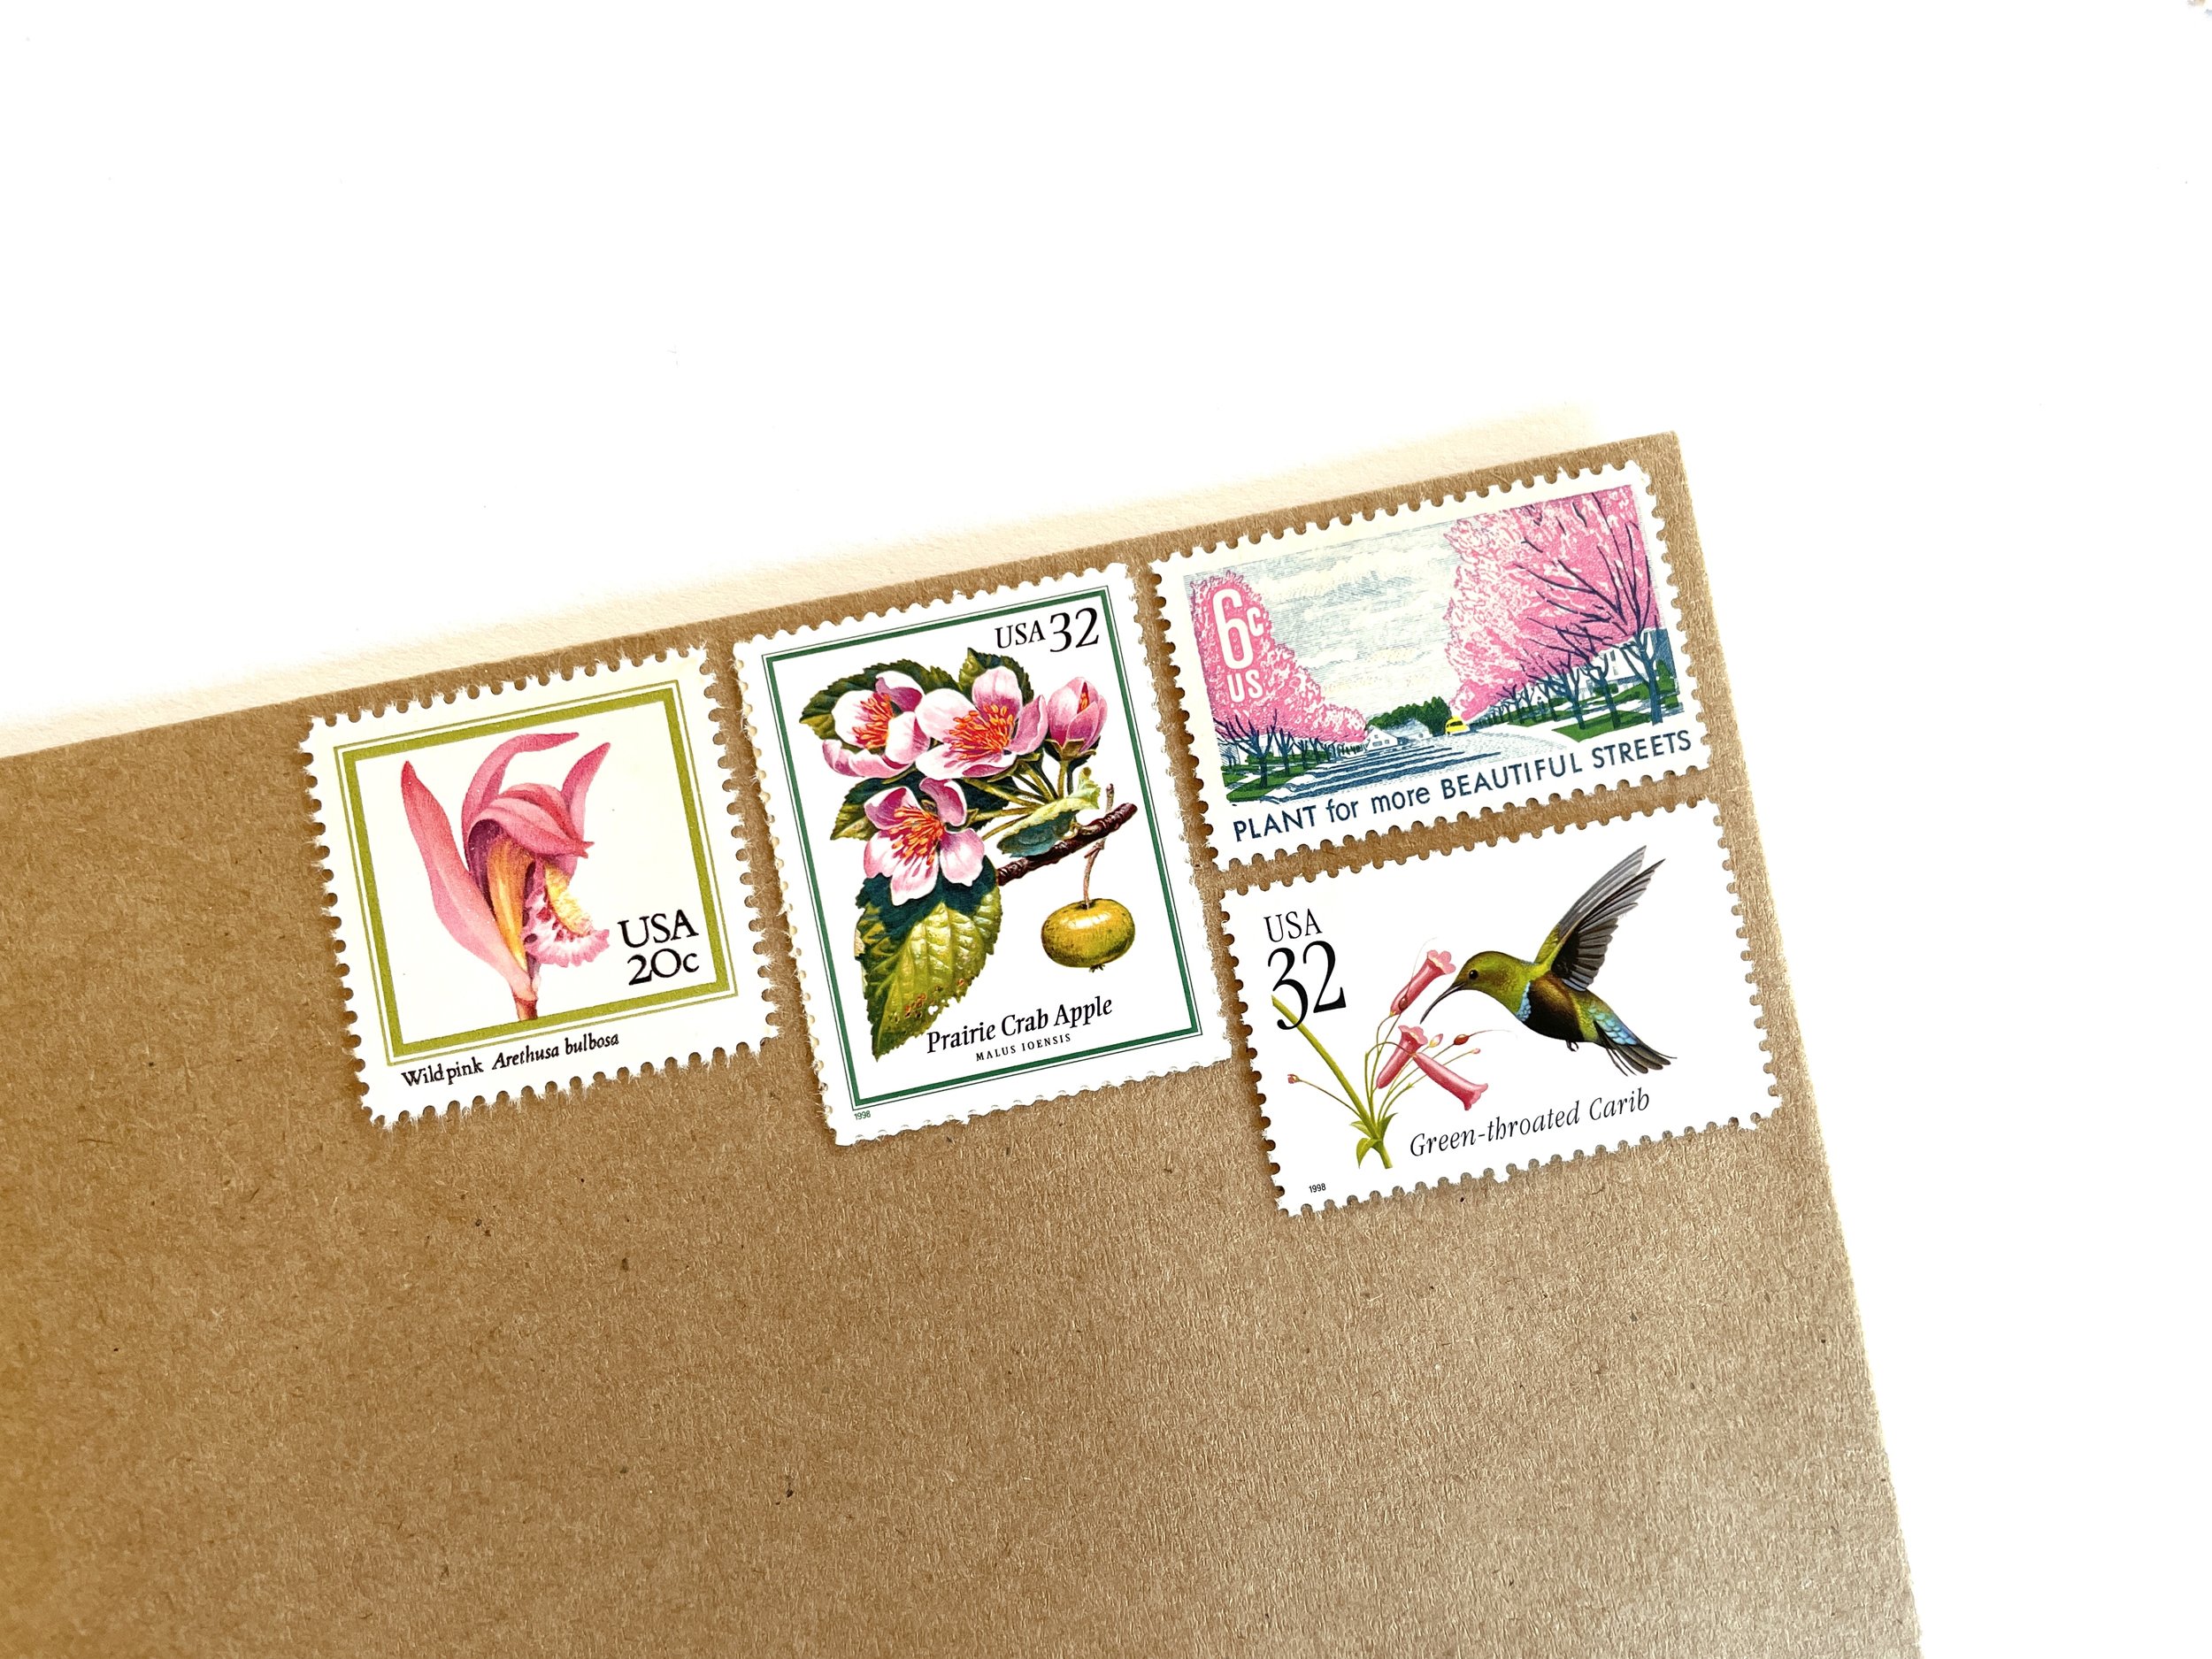
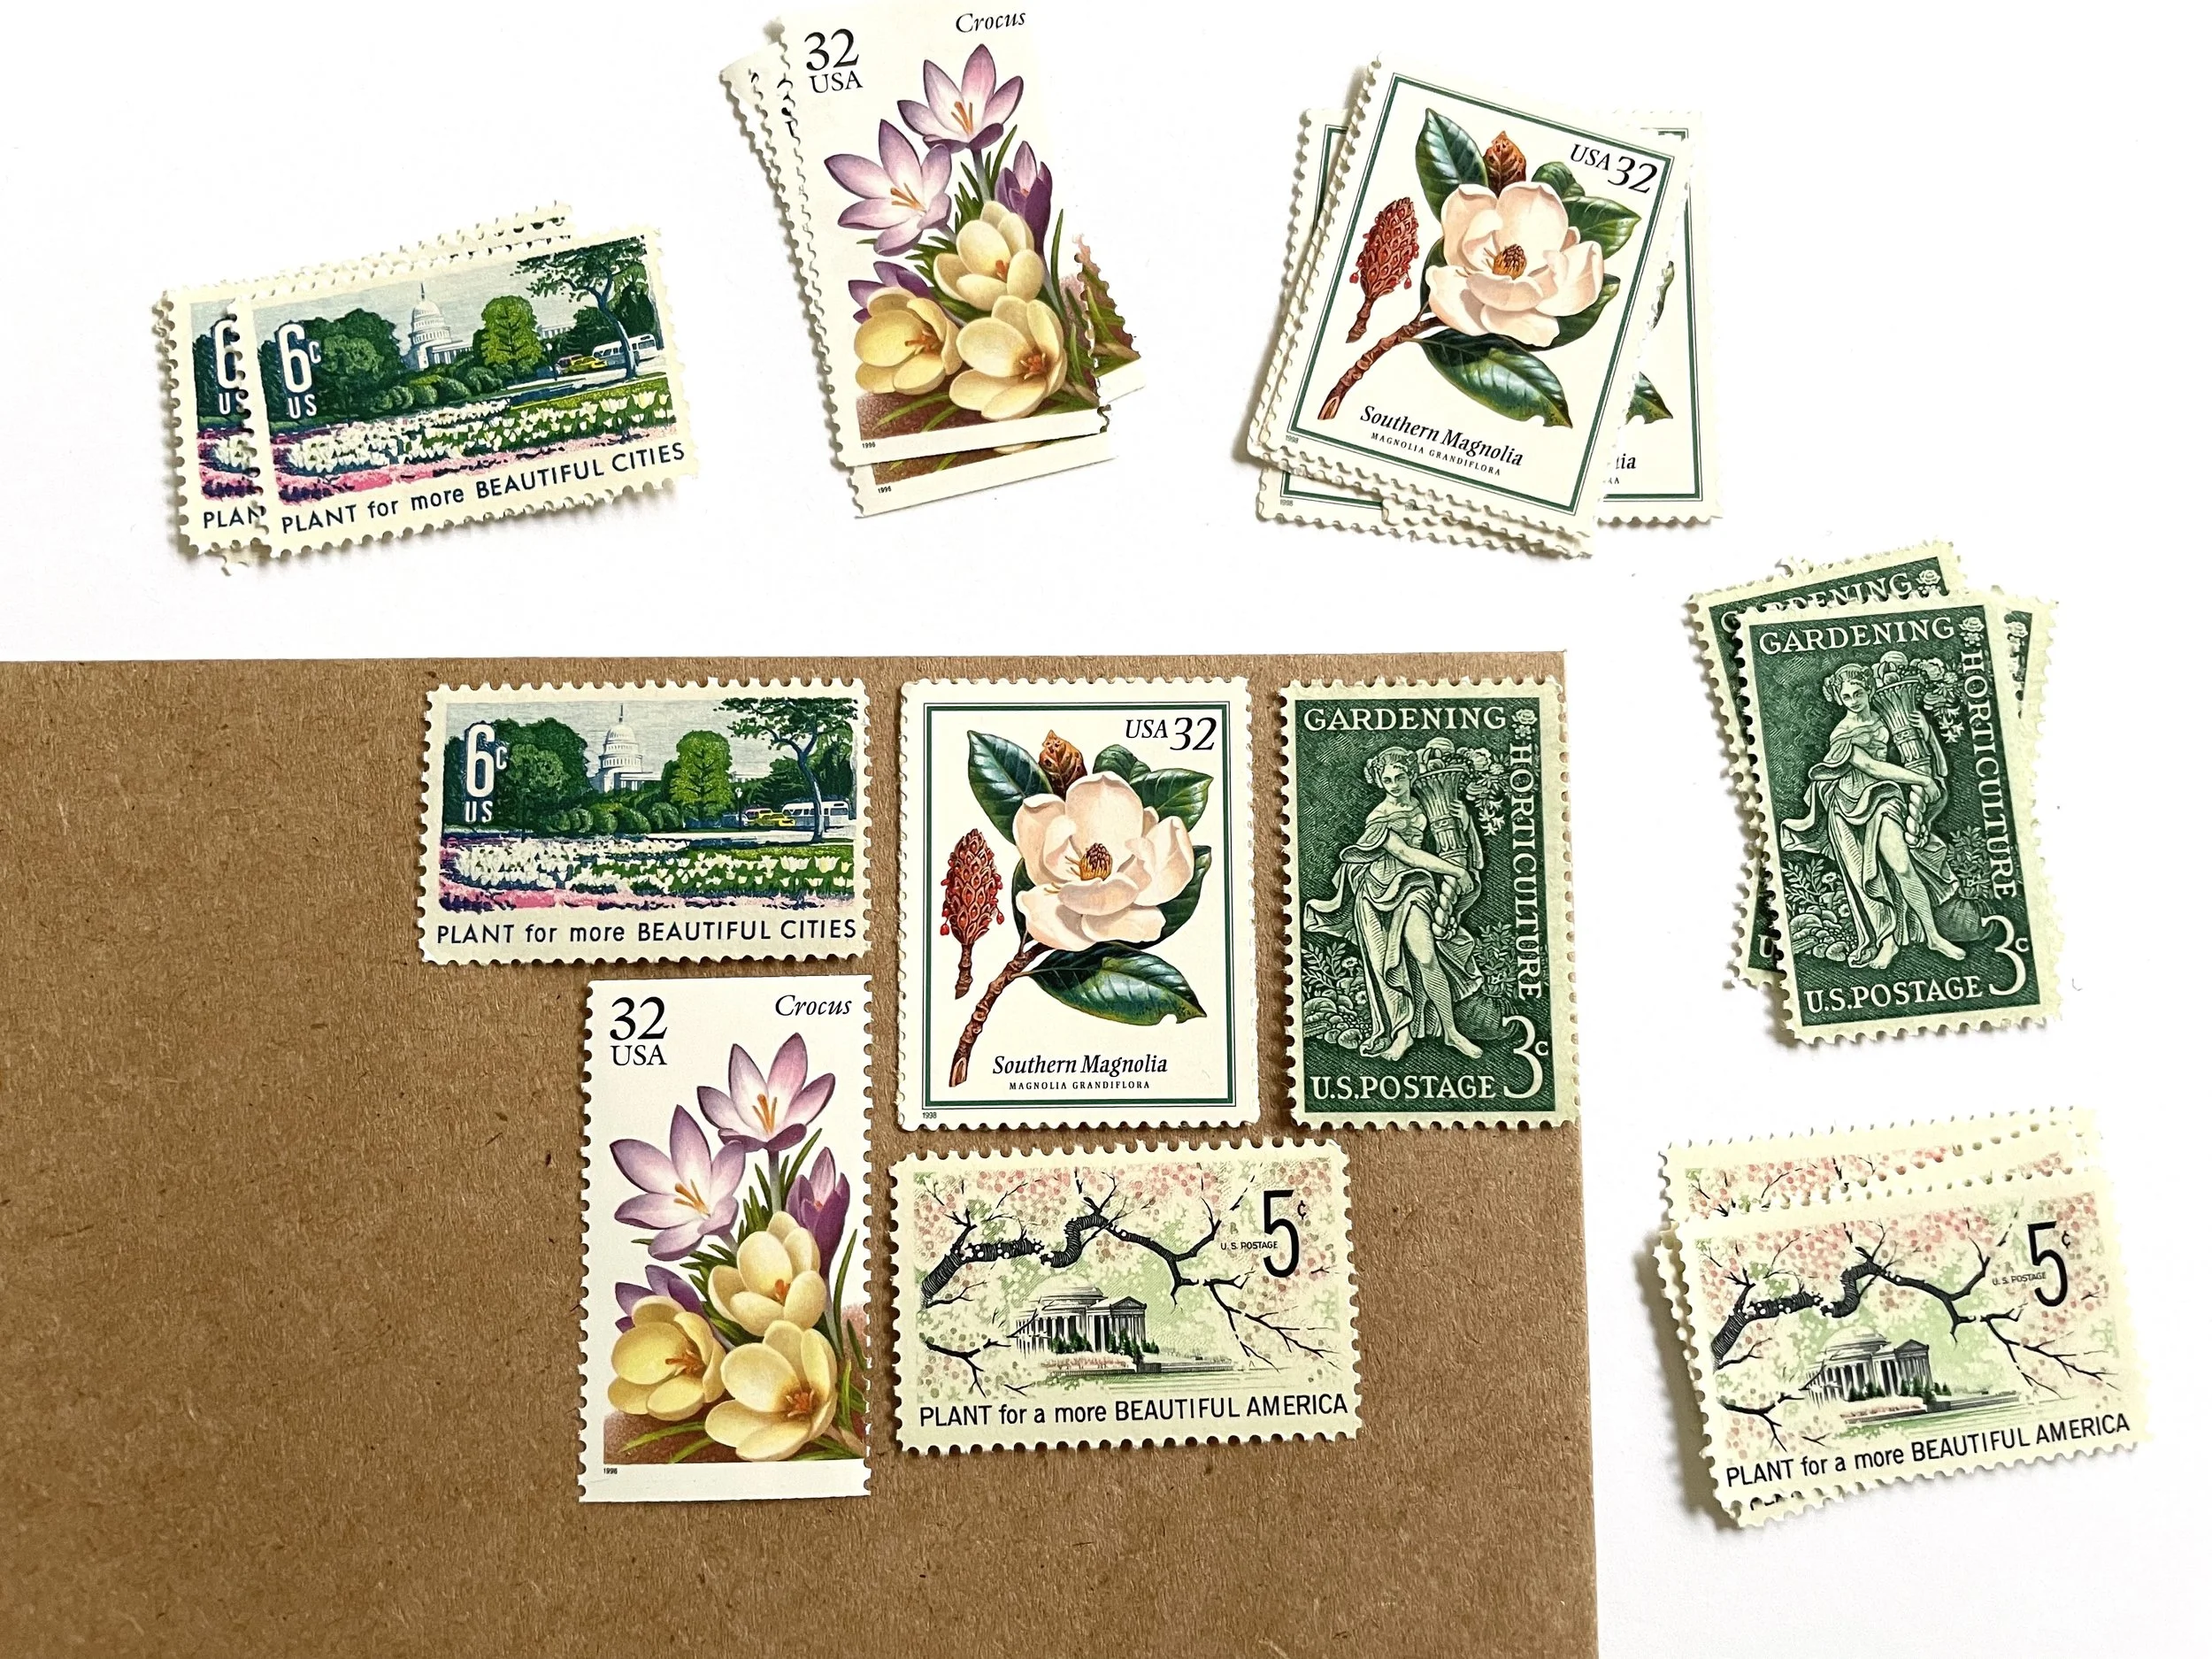
4. Decide What You Want
When it comes to vintage postage, there are so many amazing options and ways to customize. Many couples choose to match the postage to the invitation in terms of colors and theme. Others want the postage to tell a story about the couple with places and things that are meaningful to them. Another thing to consider is that since you’ll be using multiple stamps on your invitation, the postage will take up more space on the envelope. If you’re using a calligrapher, be sure to coordinate with them on this.
5. Go to a Reliable Source
Unless you have a lot of free time and an extensive knowledge of vintage stamps, it’s best to go to the experts for this. Going to a legitimate stamp collectors or curators will ensure you’re getting legitimate stamps that are in good condition. You’ll also be able to have them source more unique and rare stamps. We love working with stamp curator Heritage Post House because they have a beautiful selection of stamps and are used to working with couples to create the perfect vintage creations for their invitations.